Export PFX file
Export Private Key
How to Export PFX file using .cer and Private Key
SSL is a Secure Socket Layer used to secure your web applications and websites, there are different type of SSL certificates like Domain Based Internet SSL, Domain Based intranet SSL, Wildcard SSL, (internet Protocol) IP based SSL etc.
Table of Contents
Certificate Can be made using different types of algorithms and 1024 or 2048 encryptions for example
Certificate Signature Algorithm : PKCS #1 SHA-256 With RSA 2048bit Encryption
Certificate Format: CER
Export PFX file
Steps to Import SSL / Export PFX and Export Private key.
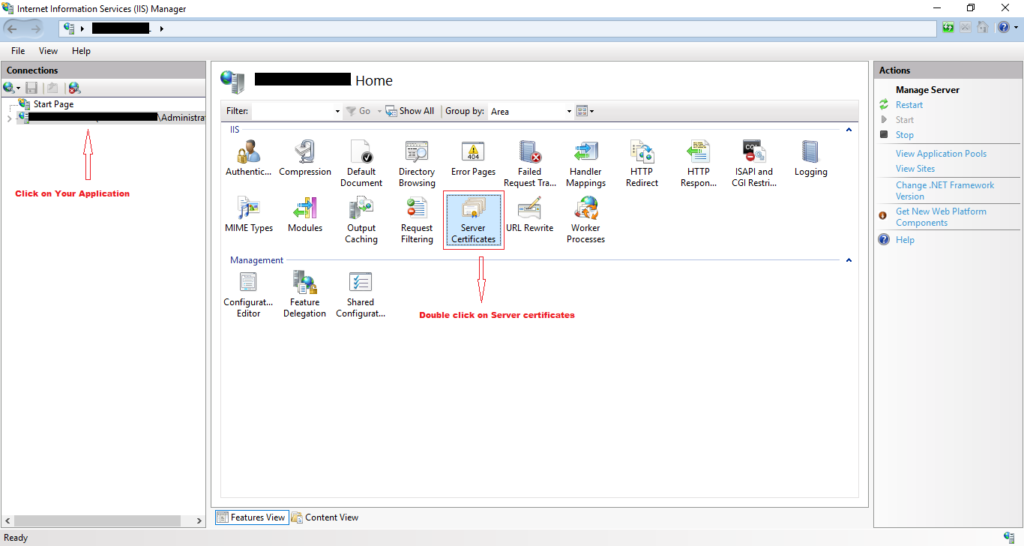
Step 1. Go to IIS Internet Information Services IIS Manager, type iis in search box to open it.
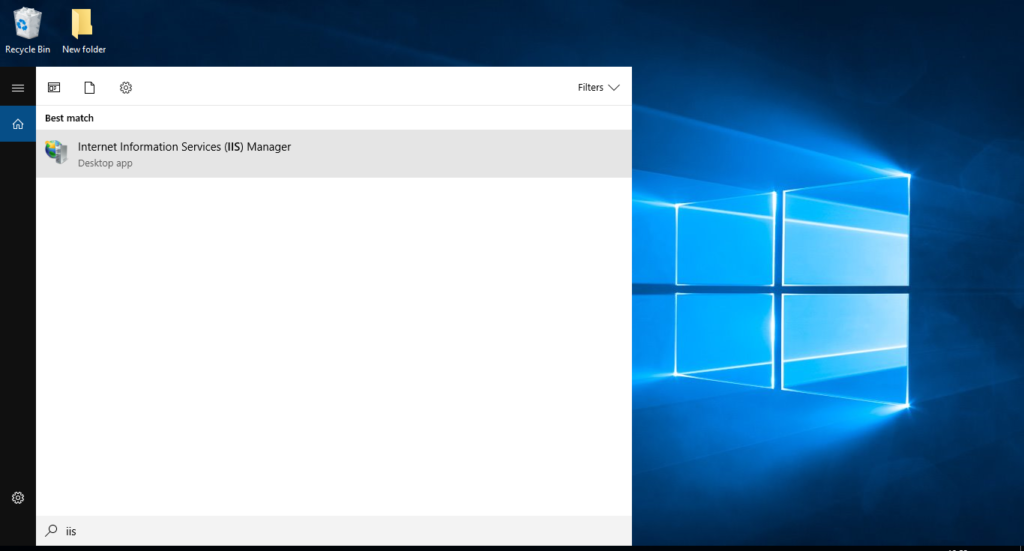
Step 2. Click on your application and then Double click on Server Certificates
Import SSL Certificate (Complete Certificate Request)
To Export PFX file from certificate first you need to add SSL Certificate in IIS Manager in Server Certificates
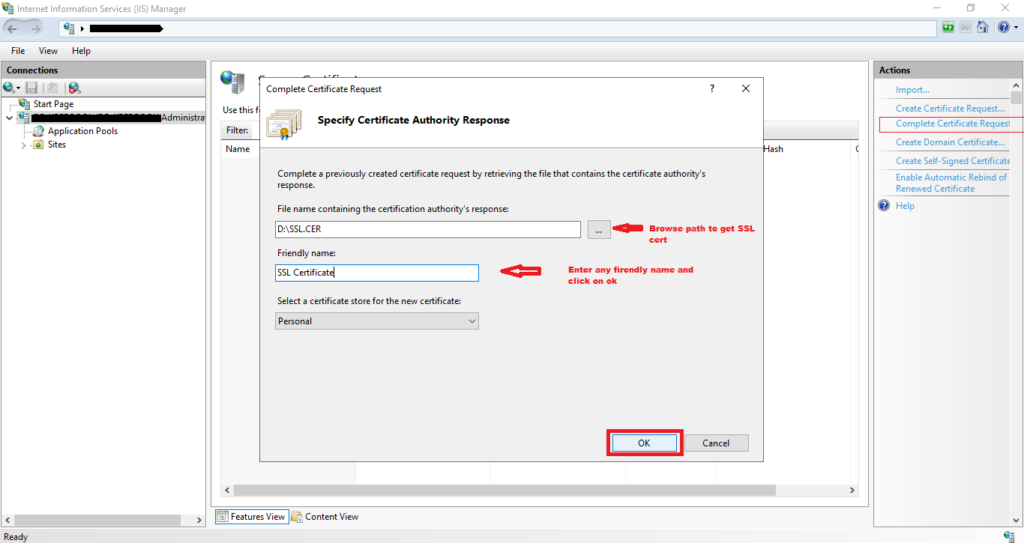
Step 3. On right side hand Click on Complete Certificate Request to Import your SSL certificate Browse the .cer and enter any friendly name and click on OK
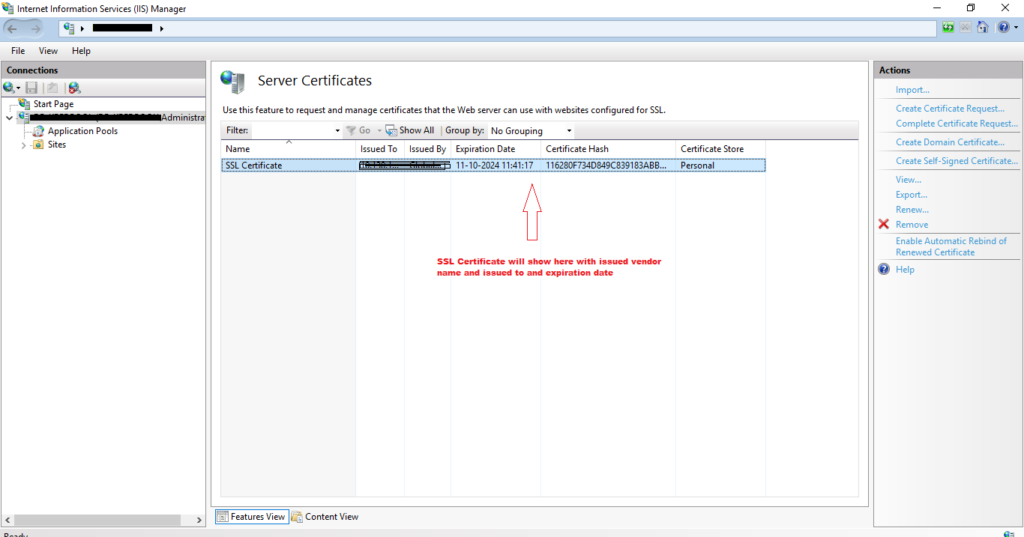
Step 4. Your SSL Certificate imported successfully, you will see a Certificate like below screenshot with Vendor name who has issued this certificate and other details like Issued to, Expire date, certificate name etc.
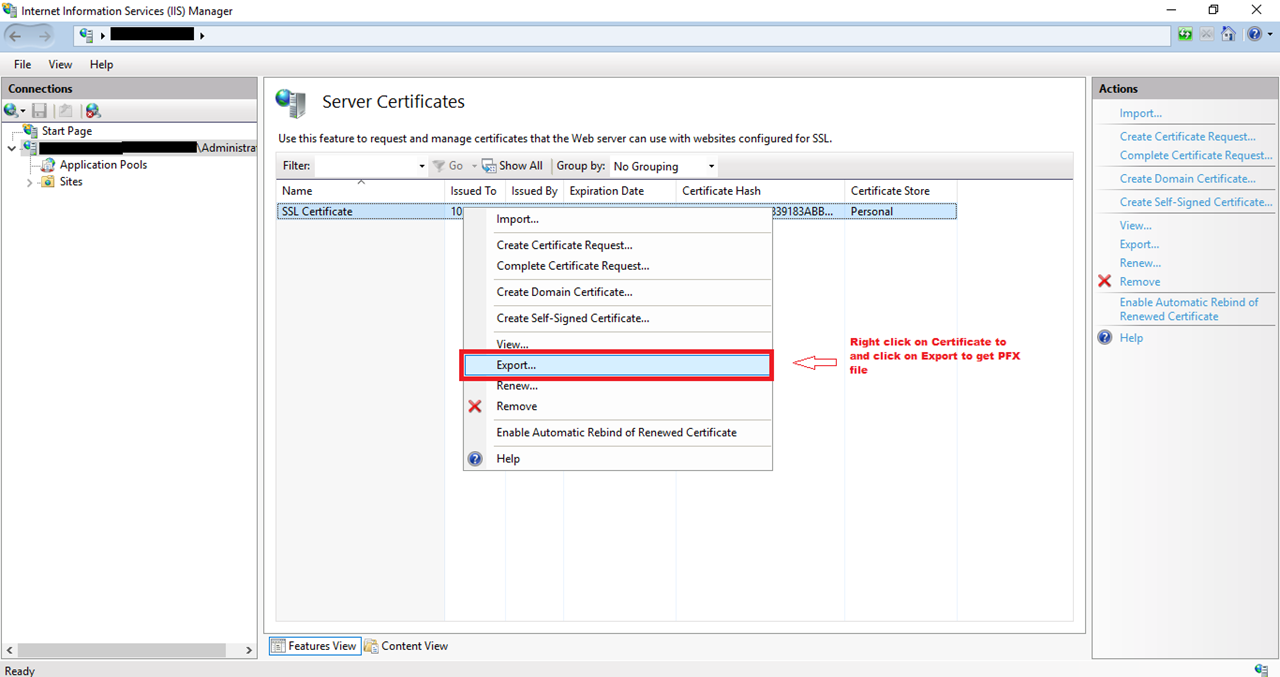
Export PFX file
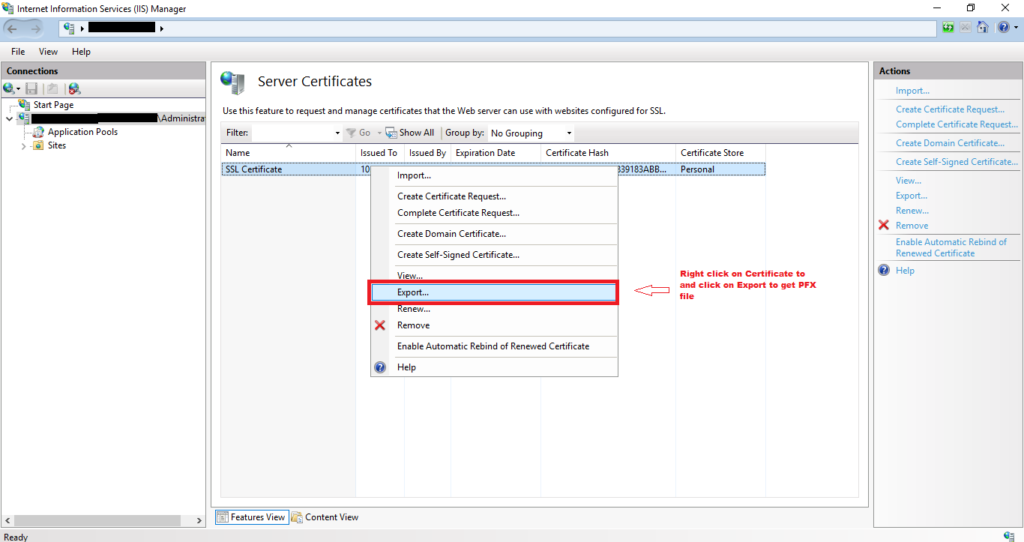
Step 5. Right click on Your SSL certificate and click Export
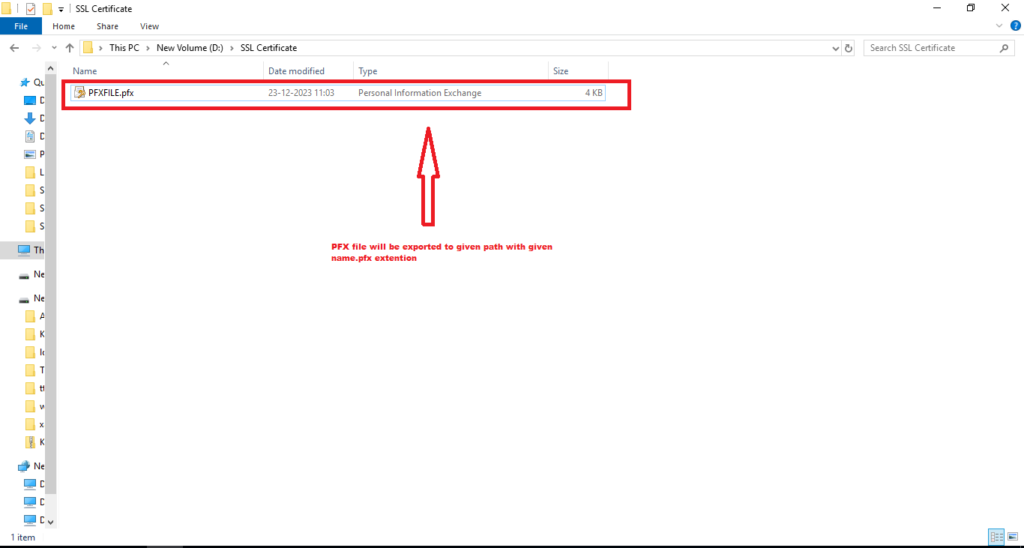
Step 6. Enter path to export the PFX file and then Enter Password and confirm password, Note that password will require at the time of private key export

Step 5. Your PFX file will be exported in your entered location
Export Private Key
How to Export Private Key using .Pfx
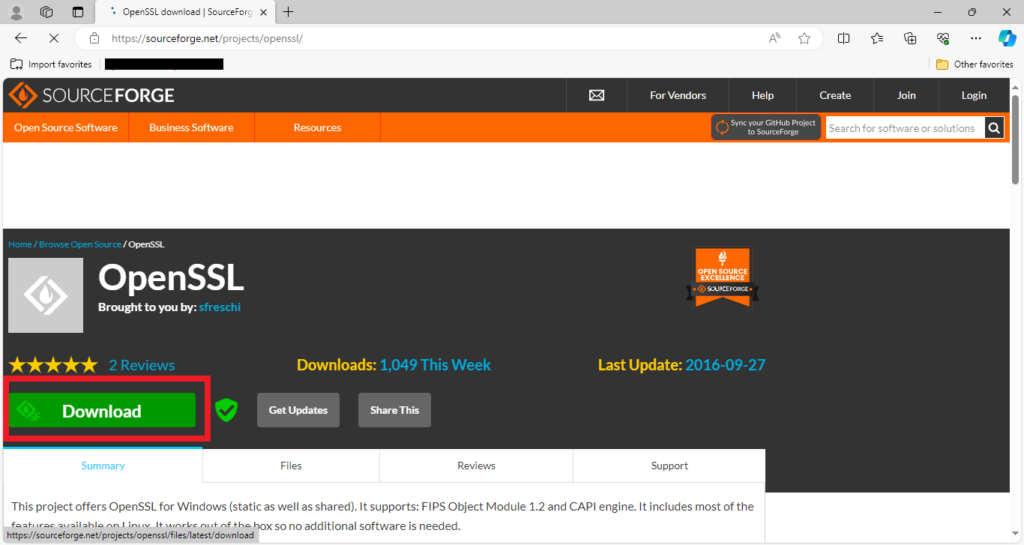
Step1. Download Open SSL folder and Extract it
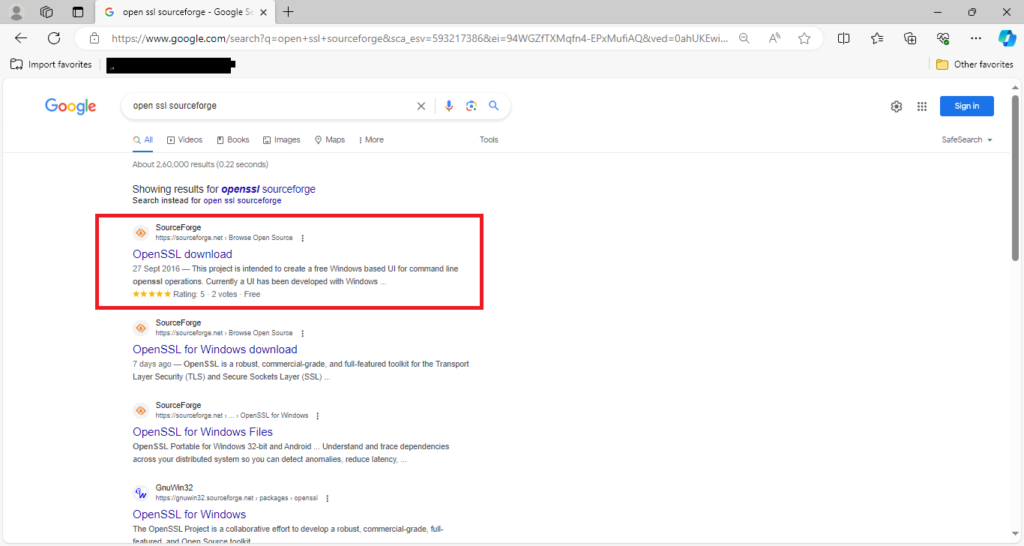
To download Open SSL type in Google Open SSL Sourceforge and click on Sourceforge.net
OpenSSL download | SourceForge.net
Step 2. Click on Download after download complete you will get and zip file right click on File and Extract it to same folder
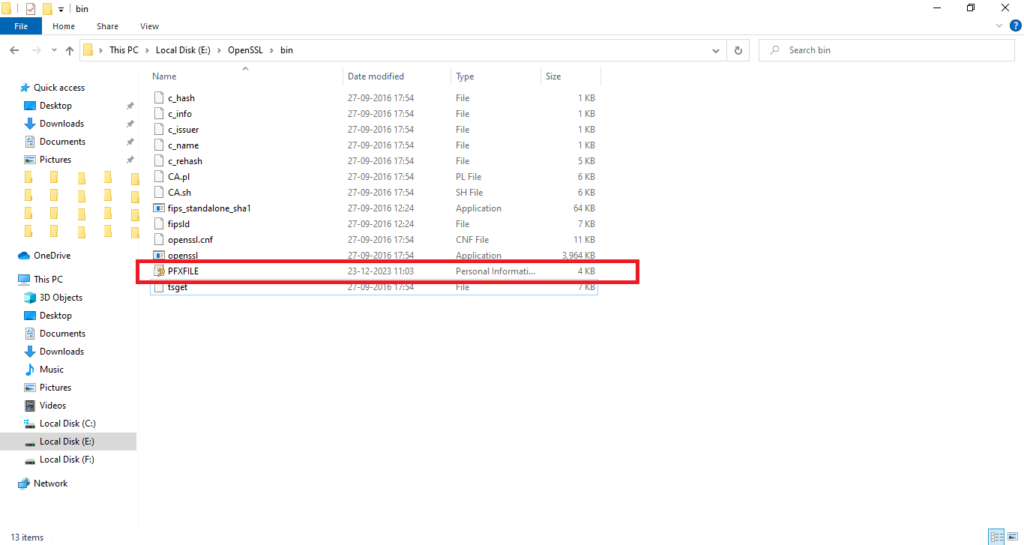
Step 2. After extract go to the Bin folder of Open SSL folder and paste your .PFX file
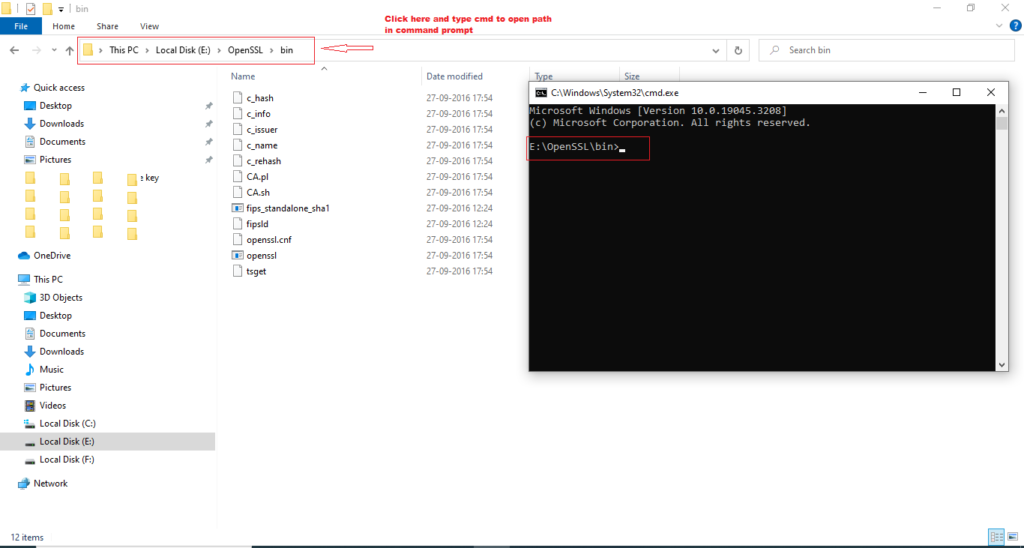
Step3. Click on Path and type CMD to open same path in command prompt or open cmd and go to the path of open SSL up to bin folder.
Step4. Enter below command and replace your pfxfilename to your name of the PFX file
openssl pkcs12 -in PFXFILE.pfx -nodes -nocerts -out private-key.pem Step5. Click Enter it will ask password enter the password that you was entered while creating PFX file
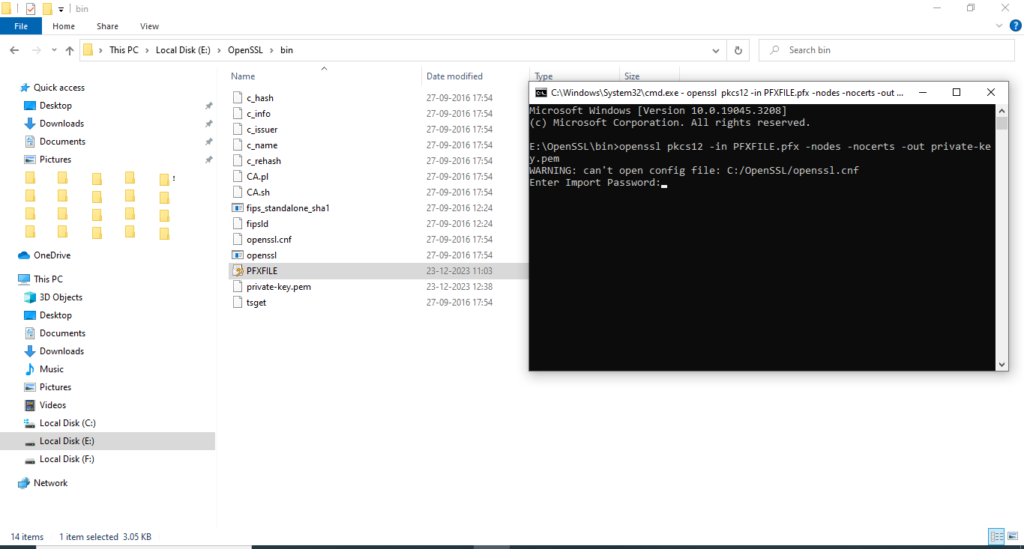
Note: password will not visible here just type password and click enter button. You will see message ‘MAC Verified’.
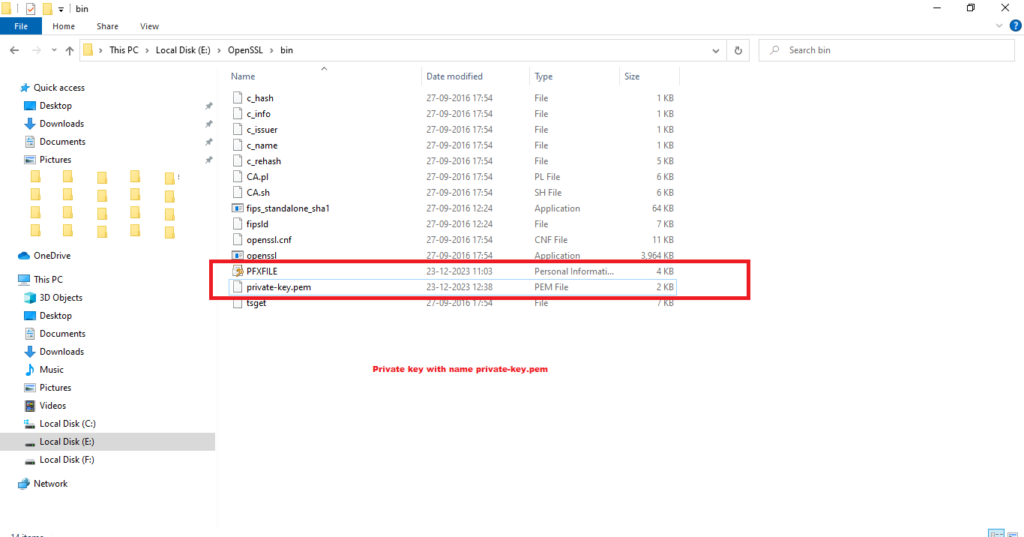
Step5. Your private kye file will be stored in Bin folder of your Open SSL folder with name
private-key.pem
Another Way to Export PFX file and Private Key
Back Up Certificate – Internet Information Services (IIS) 7
Export Your Certificate Using IIS
Export Your Certificate Using the MMC
Create an MMC Snap-in for Managing Certificates
Back Up Certificate – Internet Information Services (IIS) 7
1 Open Microsoft IIS 7 Manager.
2 Select the Server Name from the left side pane.
3 Click the Server Certificates icon from the middle window.
4 Select the certificate you wish to export.
5 Give the certificate a file name and password.
6 Your certificate and private key have now been exported to a “.pfx” file.
1 Open MMC (Start > Run > MMC).
2 Select File > Add/Remove Snap-in > Certificate > Add > OK.
3 Close the Add Standalone Snap-in window.
4 Click OK in the Add/Remove Snap-in window.
news > Automated, Scalable PKI Management Made Easy
Export the Certificate With Private Key
Import PFX File Into IIS 7 Web Server
1 Expand the Certificates Console Tree.
2 Locate the Personal folder. Click Certificates.
3 Select the certificate you wish to back up.
4 Right-click on the file and choose All Tasks > Export.
5 The Certificate Export Wizard will start up. Click Next.
6 Select Yes, Export the Private Key.
7 Select Include All Certificates in the Certification Path. Click Next.
8 Create a password to protect the export of the private key file with the certificate. Click Next.
9 Choose to save the file to a set location.
10 Type the file name in the appropriate box. Click Save.
11 Click Next > Finish.
You will receive the message “The export was successful” when the export has been completed. Click OK. The file will have a
“.pfx” extension and will contain your certificate and corresponding private key.
12 Follow below five Steps
- 1 Open IIS Manager and navigate to the level you want to manage.
- 2 In Features View double-click Server Certificates.
- 3 In the Actions pane click Import.
- 4. In the Import Certificate dialog box type in a file name in the certificate file box or browse to navigate to the name of a file where the exported certificate is stored.
- 5 Type in the appropriate password if the certificate was exported with a password.
Select Allow This Certificate To Be Exported if you want to be able to export the certificate in the future. If you do not want
to allow for this function, do not select the option. Click OK.